Why Choose a Glass Bottle Cutter for Upcycling Projects
A glass bottle cutter provides a repeatable, consistent way to turn spent beer, wine, or olive oil bottles into usable pieces without relying on risky hacksaws or improvised heat tricks.
For wood engravers pairing a new etched coaster with a matching recycled bottle vase, it ensures clean, crisp edges.
Beginners can expect a small learning curve for scoring, heat-shocking, and separating the glass, while more experienced DIYers can easily achieve repeated cuts for sets of tumblers or pendant lights.
Unlike freehand methods, a proper cutter provides consistent pressure and a predictable path, aligning engraved logos or lettering perfectly with finished rims.
Beyond aesthetics, it improves safety because the scoring wheel controls where the stress occurs, preventing random cracks across the bottle.
Types of Glass Bottle Cutters and How to Pick One
Types of Glass Bottle Cutters and How to Pick One
- Manual cutters: Feature a straight or hinged arm, allowing you to rotate the bottle by hand while a carbide or diamond wheel makes the score line.
- Great for hobbyists and small projects where precision and control are key.
- Great for hobbyists and small projects where precision and control are key.
- Skeleton or electric cutters: Have a motorized rotation plate that ensures consistent speed, which is especially helpful when finishing large batches of gifts or repeated cuts.
- These models offer more convenience and reduce manual effort.
- These models offer more convenience and reduce manual effort.
- Carbide wheels: Stay sharp longer and can handle thicker bottles, making them suitable for harder glass.
- Ideal for general use, especially for cutting standard glass bottles.
- Ideal for general use, especially for cutting standard glass bottles.
- Diamond tips: Provide smoother scoring on tough recycled bottles, especially glass bottles with harder surfaces.
- Best for more delicate projects where a smooth, clean cut is needed.
- Best for more delicate projects where a smooth, clean cut is needed.
- Laser cutters: While not typically used for cutting, laser cutters can be used for engraving or etching designs on glass bottles.
- They offer high precision and can handle intricate designs that other methods may struggle with.
- Laser cutters are ideal for personalizing glass bottles with detailed logos, artwork, or text, making them perfect for gifts or decorative items.
- Though laser cutters can’t physically separate the glass like manual or electric cutters, they are excellent for enhancing the aesthetic appeal of upcycled bottles.
- Laser cutters are best suited for light engraving rather than cutting through thick glass, but they can create beautiful patterns or text on the bottle surface.
- They offer high precision and can handle intricate designs that other methods may struggle with.
Look for features such as a stable base, adjustable arm lengths for different bottle diameters, and replaceable heads to swap between thicker or thinner wheels without buying a whole new unit.
If you plan to engrave acrylic alongside glass, stability is key; the same base will help keep vibrations low for both setups, yielding crisp cuts.
Step-by-Step Process for Cutting a Glass Bottle
- Prepare the bottle: Remove labels by soaking in warm soapy water, then dry fully. Lightly sand any adhesive residue so it doesn’t drag the wheel off course.
- Position the bottle in the cutter so the wheel rests on the intended score line.
- Score the bottle: Apply steady pressure—just enough to score without gouging. Rotate the bottle in one continuous pass to avoid spider cracks later.
- Heat-shock method: Pour boiling water along the score line, then immediately follow with a cold-water rinse or ice. Repeat until the neck separates cleanly.
- Once the top separates, gently jiggle the cut edge if needed—this ensures a smooth, even separation.
- Post-separation: Wash off any grit, and move to the smoothing process.
Safety and Finishing Techniques for Clean Results
- Always wear cut-resistant gloves and safety glasses for protection.
- When sanding, use a respirator to avoid inhaling glass dust.
- Begin sanding with 220 grit around the rim, then move to 400 grit or higher for a smooth, glassy finish.
- Use sponge-backed sanding blocks for better contouring around curves.
- For a final polish, use cerium oxide or a fine glass compound on a felt wheel.
- If you plan to drink from the vessel, seal with a food-safe epoxy.
- To prevent chips, avoid forcing the bottle to bend; allow each heating cycle to complete before attempting to separate the glass.
- Re-score with more pressure if breaks are uneven, or correct spider cracks caused by uneven heating.
Custom Fixtures and Jigs for Consistent Cuts
- A steady fixture keeps the bottle level, ensuring cleaner scores.
- Wooden or MDF blocks with a channel matching the bottle’s diameter work well.
- For odd shapes (like olive oil bottles with bulbous shoulders), consider a DIY clamp that holds the body while you rotate the neck.
- 3D-printed holders can also keep the bottle steady for consistent cuts.
- Custom jigs help maintain a repeated cut height, which is essential when making matching sets of tumblers or vases.
- Use silicone padding to keep the glass from slipping, and adjustable stop blocks for easy switching between different bottle types.
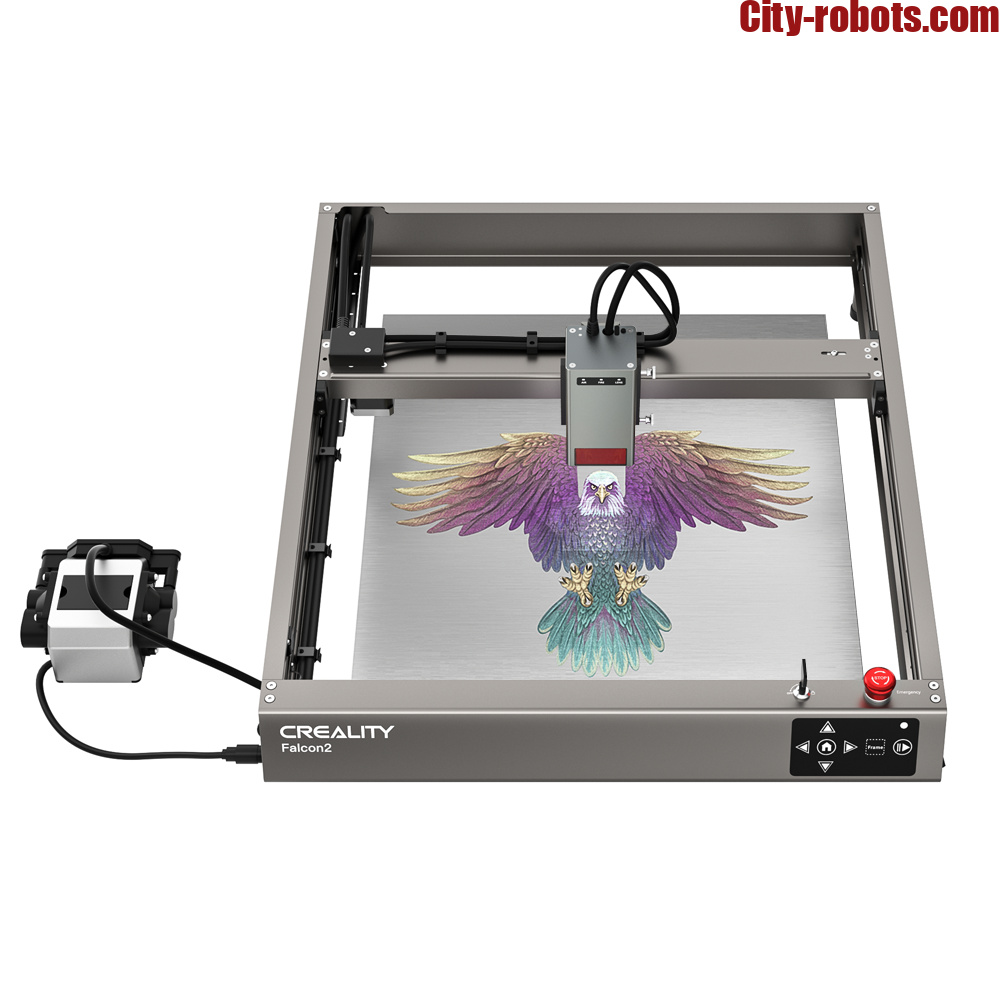
Creality Falcon Best-Fit Pick
Product: Creality Falcon 3D Printer
The Falcon lets you print custom bottle holders or scoring guides sized exactly for each bottle diameter.
Precision printing keeps those jigs repeatable, so you get consistent cuts across multiple batches.
It handles a wide range of filaments—PLA for prototypes, and PETG or ABS for durable fixtures resistant to slips and solvent exposure.
With faster speeds, you can design, print, and test a new clamp within the same afternoon, making it perfect for custom bottle holder projects.
Maintaining Your Glass Bottle Cutter for Long-Term Use
- After each use, wipe the scoring wheel clean to remove glass particles that could scratch future cuts.
- If your cutter has bearings or pivots, apply a light machine oil to keep movement smooth.
- Check alignment regularly; a crooked arm is the leading cause of wobbly cuts.
- When wear becomes noticeable (e.g., a dull wheel), swap in a new carbide or diamond head.
- Store the cutter in a dry box or on a pegboard to prevent moisture from damaging metal parts.
- Log which bottles cut smoothly and which required extra pressure to track your setup and optimize results.
Creative Project Ideas After Cutting the Bottle
Once the rim is smooth, the fun begins!
- Tall wine bottles make elegant hanging pendant lights when paired with LED bulbs and macramé hangers.
- Short beer bottles turn into tumblers or planters, perfect for geometric etching using a laser engraver.
- Combine a cut bottle base with leather-wrapped bands or mosaic glass for statement vases.
- Seal edges with resin if you plan to use the vessel for drinks or candles.
- Paint designs that complement your engraved wood coasters.
For more ideas, check out local maker meetups or online craft forums to see how others mix glass upcycling with engraving, acrylic cutting, or custom decals.
Disclaimer
This article is for informational and educational purposes only. Using a glass bottle cutter involves working with sharp glass, heat, and tools that may pose safety risks if handled improperly. Always follow manufacturer instructions, wear appropriate protective equipment, and use proper safety precautions when cutting or sanding glass. The author is not responsible for any injuries, damages, or losses resulting from the use of the techniques described in this guide.